 how-to
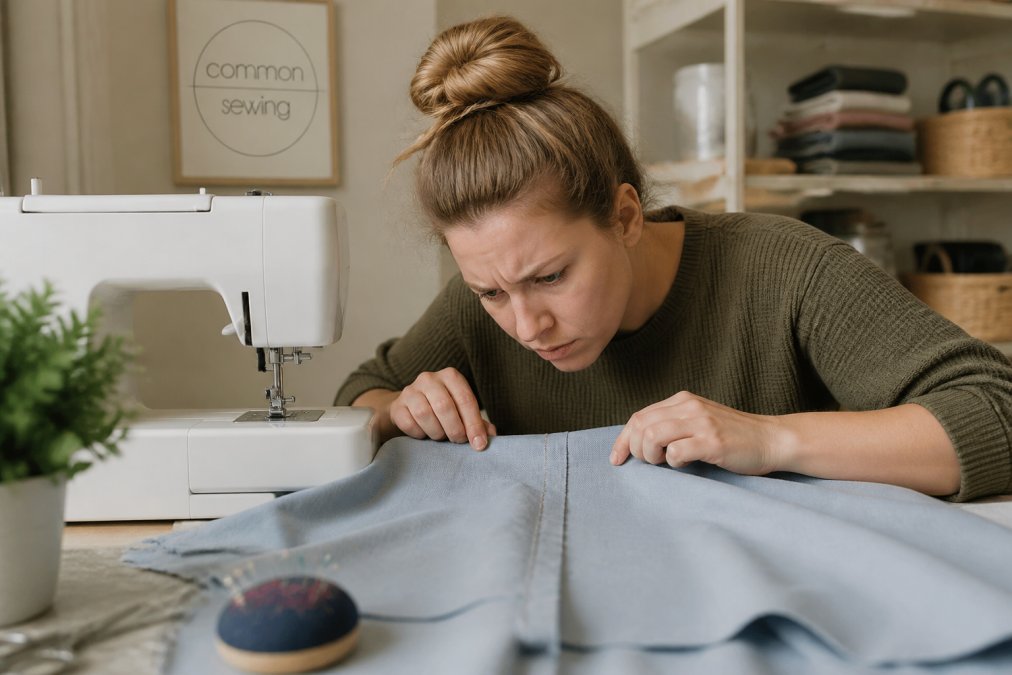
Why Beginner Sewers Struggle With Straight Lines
Table of Contents
- Why Beginner Sewers Struggle With Straight Lines
- Sewing Practice Exercises for Beginners
- How to Use a Seam Guide
- Frequently Asked Questions
Last Updated: September 26, 2026
Why Beginner Sewers Struggle With Straight Lines
Straight stitches seem simple until you sit down at a sewing machine. Most beginners struggle with straight lines not because they lack talent, but because they haven't learned the specific skills that make it happen. Common Sewing helps aspiring makers master these foundational techniques through structured, step-by-step instruction.
Why beginner sewers struggle with straight lines comes down to coordinating hand-eye movement, machine control, and pedal speed, all simultaneously.
Sewing Practice Exercises for Beginners
Practice is where straight stitches actually happen. Start with scrap fabric, not your final project. Cut strips about 4 inches wide and 12 inches long. This gives you enough material to practice without wasting good fabric.
Exercise 1: Stitch a straight line without thread. Lower the presser foot and run the machine slowly. Watch how the needle plate guides your fabric. Feel the rhythm. Do this five times.
Exercise 2: Sew straight lines on scrap fabric. Use a seam guide or mark lines with a fabric pencil. Sew slowly. Speed comes later. Aim for five seams in a row, each one as straight as possible.
Exercise 3: Practice pivoting at corners. Sew toward a corner, stop with the needle down, lift the presser foot, turn the fabric, lower the foot, and continue. This builds the hand-eye coordination you need for real projects.
Do these drills three times a week. Most beginners see improvement within two weeks of consistent practice.
How to Use a Seam Guide
A seam guide is your best tool for achieving consistent seams. It's a simple attachment that sits on the needle plate and gives your fabric a physical reference point.
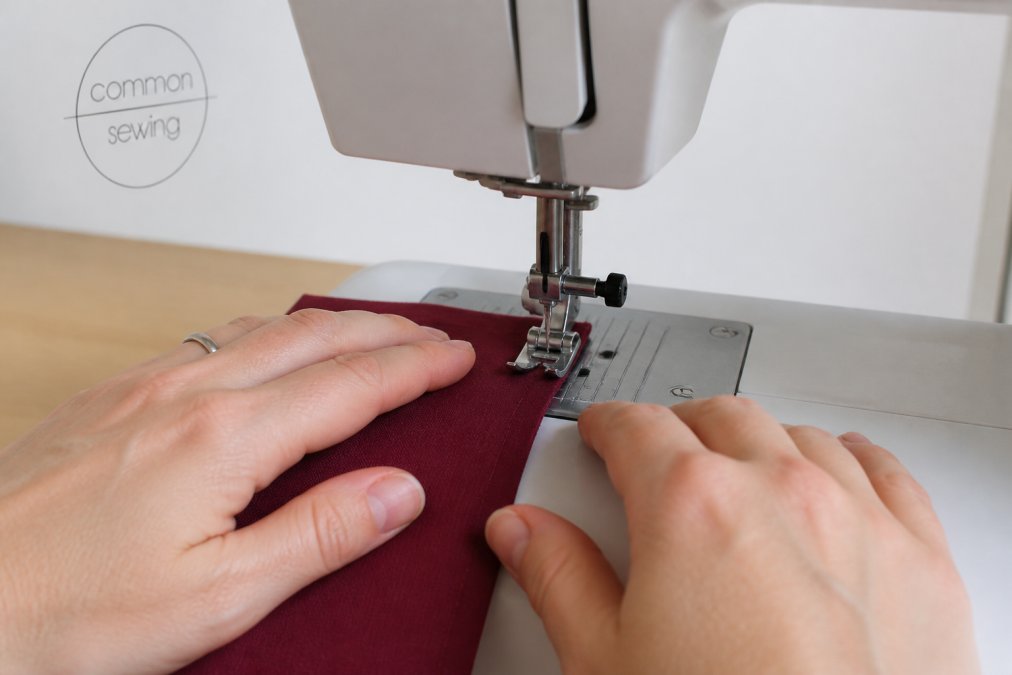
Line up the edge of your fabric with the seam guide before you start sewing. Keep steady pressure against the guide as the feed dogs move your fabric forward. Your job is to maintain that contact, not to push or pull the fabric. The machine does the work.
If your machine didn't come with a seam guide, buy one. They cost very little and make an enormous difference. Alternatively, use painter's tape on the needle plate as a temporary reference point. Mark your desired seam allowance with tape, then align your fabric edge with it.
The key is consistency. Every seam at the same distance from the edge trains your hands to recognize the correct position. After enough repetition, you won't need the guide anymore. Your muscle memory takes over.
Frequently Asked Questions
Why are my sewing lines not straight even when I'm trying my best?
Uneven lines usually stem from three factors: inconsistent hand-eye coordination while guiding fabric, incorrect presser foot pressure, or feed dogs not moving fabric smoothly. Many beginners focus too hard on the needle instead of watching the fabric edge align with a seam guide or reference point. Tension settings and stitch length also affect line quality. Start by using a seam guide, slowing your foot pedal control, and practicing on scrap fabric to build muscle memory without pressure.
How can I practice sewing straight lines without wasting fabric?
Use inexpensive cotton scrap fabric or old sheets cut into 6-by-6-inch squares. Practice sewing practice exercises for beginners like straight lines across the grain, then diagonal lines, then curves. Mark reference points with a fabric pencil to guide your eye. Sew slowly, focusing on keeping the fabric edge aligned with your seam guide rather than watching the needle. Complete 10-15 practice lines per session. This builds spatial awareness and hand positioning without guilt over wasted material.
Do I need special tools to sew straight lines?
No, but the best sewing machine accessories for straight stitching make a real difference. A seam guide (often included with your machine) is your most valuable tool. A walking foot helps with fabric bunching on thicker materials. A quarter-inch presser foot is useful for precise seam allowances. Beyond these, proper posture, good lighting, and a stable work surface matter more than expensive gadgets. Start with what your machine came with and add accessories only when you identify a specific problem.
Ready to move beyond wobbling seams? Sign up with your email address to receive news and updates from Common Sewing, where structured lessons replace frustrating YouTube tutorials and build the confidence you need to sew anything you imagine.