 how-to
How to Fix Sewing Machine Mistakes: Step-by-Step
Table of Contents
- Diagnose Your Sewing Machine Problem
- Sewing Machine Tension Troubleshooting
- Fix Common Needle and Thread Issues
- Sewing Machine Maintenance Checklist
Last Updated: August 26, 2026
Diagnose Your Sewing Machine Problem
Most sewing machine issues fall into a handful of predictable categories. Before you panic or assume your machine is broken, take a systematic approach to identify what's actually going wrong. The difference between a machine that needs repair and one that just needs adjustment is usually something simple you can fix yourself.
Start by observing what's happening. Are your stitches coming out uneven? Is thread bunching underneath? Is the needle breaking? Each symptom points to a different culprit. Write down exactly what you're seeing, and you're already halfway to solving it. The key is to test one variable at a time. Change the needle, run a test seam. Adjust tension, run another test. This eliminates guesswork and saves you hours of frustration.
Sewing Machine Tension Troubleshooting
Tension problems cause more headaches than any other issue. When your upper thread and lower thread aren't balanced, you get loops, bunching, or puckering fabric.
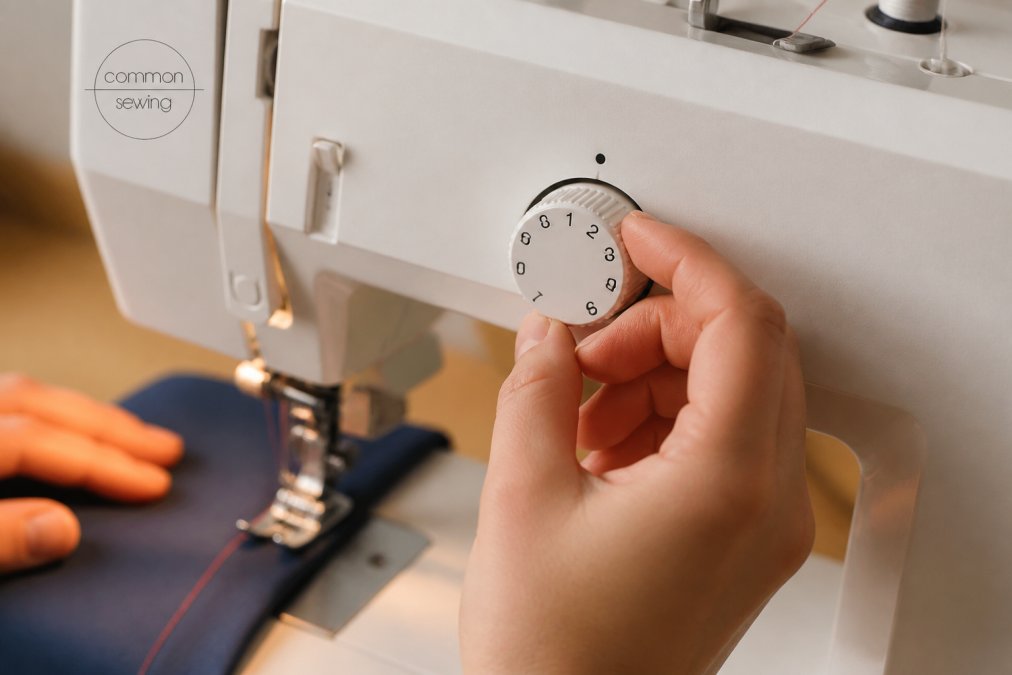
Start by understanding what tension actually does. The tension disks on your machine squeeze the upper thread as it feeds down. If they're too tight, the upper thread pulls too hard and creates loops on the back. If they're too loose, the lower thread (from the bobbin) shows on the front. Most machines have a dial numbered 0-9, with 4-5 being neutral (janome.com).
Before adjusting anything, rethread your machine completely. Half the time, tension problems are actually threading problems. Pull the presser foot up (this opens the tension disks) and rethread from scratch. Then test on scrap fabric.
If the problem persists, make small adjustments. Move the dial one number at a time, test, and observe. Don't jump from 4 to 8 hoping for a fix. Patience here prevents over-correcting and creating new problems.
Fix Common Needle and Thread Issues
Needle problems are responsible for skipped stitches, thread breakage, and fabric snagging. Your needle takes a beating every single time you sew.
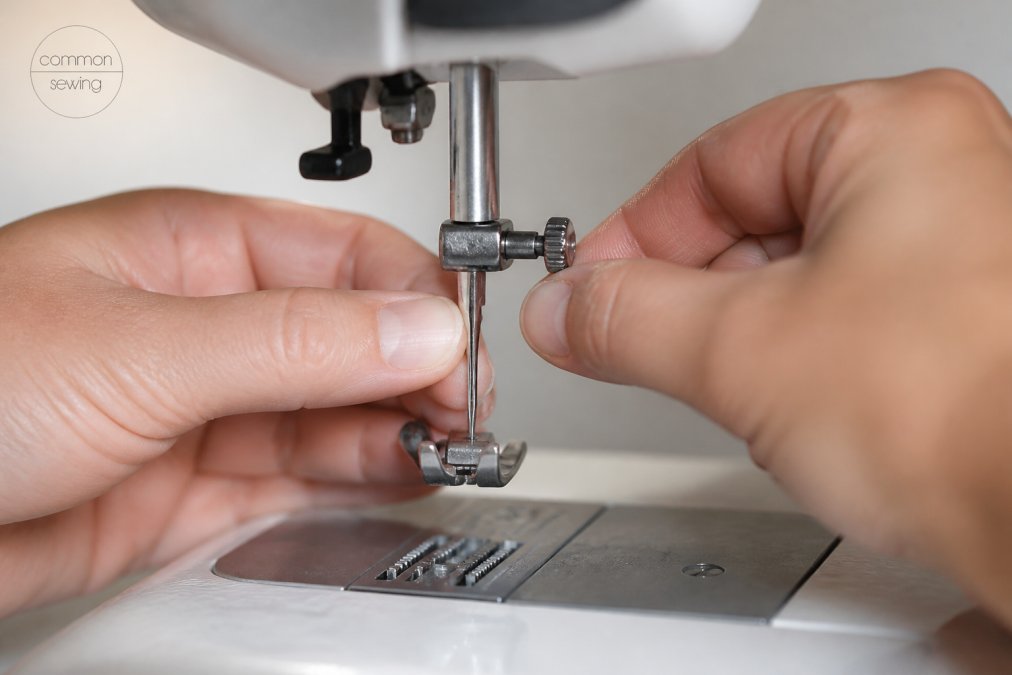
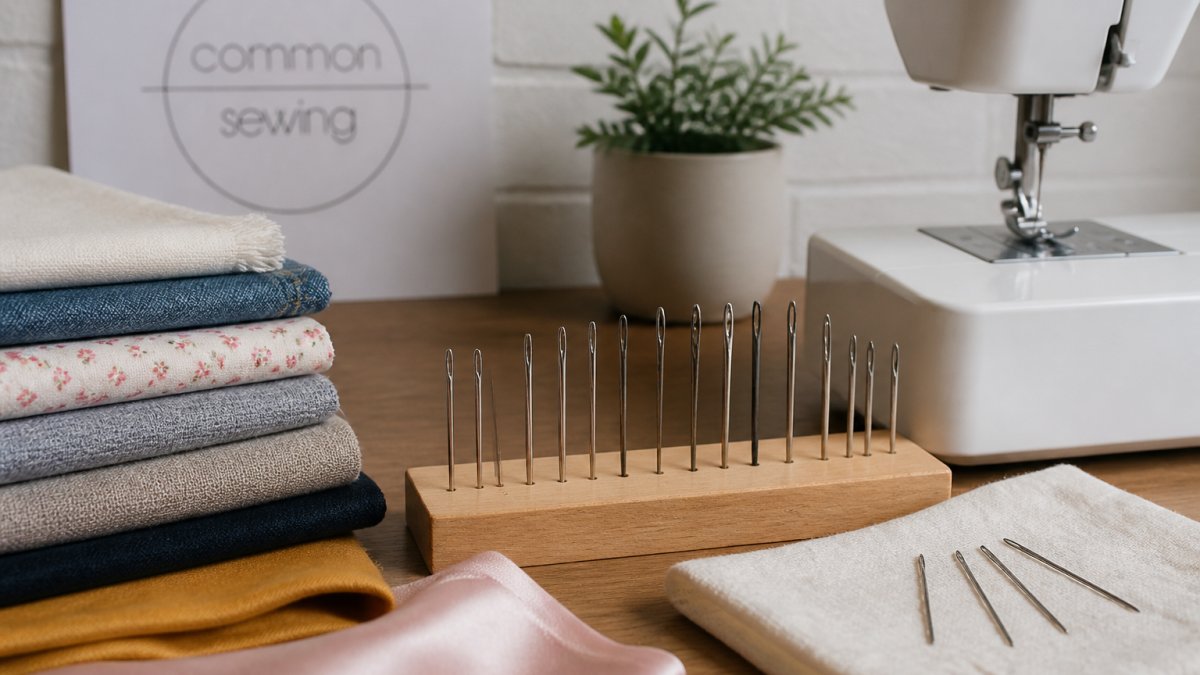
Start with the needle itself. Is it bent? Hold it up to light and look down the shaft. Even a tiny bend causes problems. Is it dull? Sewing through heavy fabric or hitting pins dulls needles fast. Replace it. A fresh needle costs almost nothing and solves more problems than you'd expect.
When you install a new needle, make sure it's inserted all the way up into the needle clamp and facing the correct direction. Different machine types have different requirements, so check your manual. The flat side of the needle shank typically faces a specific direction, getting this wrong means skipped stitches immediately.
Thread weight matters too. Thick thread needs a larger needle. Delicate thread needs a smaller one. Using ballpoint needles for knits and universal needles for wovens prevents thread breakage and fabric damage (bernina.com). Match your thread to your needle, and half your tension problems disappear.
Sewing Machine Maintenance Checklist
Regular maintenance prevents most problems before they start. A clean machine is a happy machine.
Maintenance Task | Frequency | Why It Matters |
|---|---|---|
Remove lint from bobbin area | After every project | Lint buildup jams feed dogs and causes thread bunching |
Clean feed dogs | Monthly | Clogged feed dogs skip stitches and won't advance fabric |
Oil machine (if required) | Every 6 months | Reduces friction and keeps mechanisms moving smoothly |
Replace needle | Every 8-10 hours of sewing | Dull or bent needles cause skipped stitches and breakage |
Rewind bobbins with fresh thread | Before each project | Old thread loses tension and causes inconsistent stitches |
The needle plate is where lint accumulates fastest. Unscrew it and brush out the debris with a small brush. You'll be amazed at what's hiding under there. While you're at it, check that the feed dogs aren't clogged. These small teeth move your fabric forward, and lint blocks them completely.
Check your manual for whether your machine needs oil. Many modern machines are sealed and don't require it, but older machines do. Use only machine oil, not general-purpose oil. A tiny amount goes a long way.
Frequently Asked Questions
Q: What is the most common sewing machine problem?
A: Thread bunching and skipped stitches are the most common issues beginners encounter. These usually stem from tension disks not engaging properly, the bobbin case being dirty, or the needle being installed incorrectly. Before assuming your machine needs repair, check your tension dial setting, clean lint from the bobbin area, and re-thread both your upper thread and bobbin. Most fixes take just a few minutes and save you from unnecessary service calls.
Q: How do I fix tension issues on my sewing machine?
A: Start by re-threading your machine with the presser foot UP—this opens the tension disks so thread can sit between them properly. If that doesn't work, adjust your tension dial in small increments (one number at a time). Test on scrap fabric after each adjustment. If your stitches are tight and puckered, lower the tension number; if thread loops appear on the back, raise it. Keep notes of which settings work for different thread weights so you build confidence with your machine.
Q: Why is my sewing machine bunching thread?
A: Thread bunching usually means your bobbin case or bobbin race is clogged with lint, preventing smooth thread flow. Remove the bobbin case and use a small brush or lint remover to clean the race thoroughly. Also check that your bobbin is wound evenly and inserted correctly—a loose or improperly seated bobbin causes immediate bunching. Finally, ensure your upper thread is threaded through the thread take-up lever; skipping this step is a common beginner mistake that leads to tangled, bunched thread underneath your fabric.
This article was written using GrandRanker