 how-to
How to Read Sewing Machine Manuals: A Beginner's Guide
Table of Contents
- Why Reading Your Sewing Machine Manual Matters
- Understanding Sewing Machine Symbols and Diagrams
- Step-by-Step Guide to Threading and Setup
- How to Adjust Sewing Machine Tension and Troubleshoot Issues
- Frequently Asked Questions
Last Updated: September 1, 2026
Why Reading Your Sewing Machine Manual Matters
Most people skip their sewing machine manual and jump straight to YouTube videos. Then something goes wrong, tension issues, broken needles, wonky stitches, and they're lost. Your manual isn't just a reference; it's a troubleshooting guide, maintenance schedule, and safety resource combined.
Your manual is written for your exact model. Different machines have different threading paths, tension systems, and stitch settings. What works on one machine might damage another. Learning to read your manual builds confidence, prevents mistakes, and makes every project smoother.
Understanding Sewing Machine Symbols and Diagrams
Sewing machine manuals use standardized symbols designed to communicate quickly across languages and skill levels.
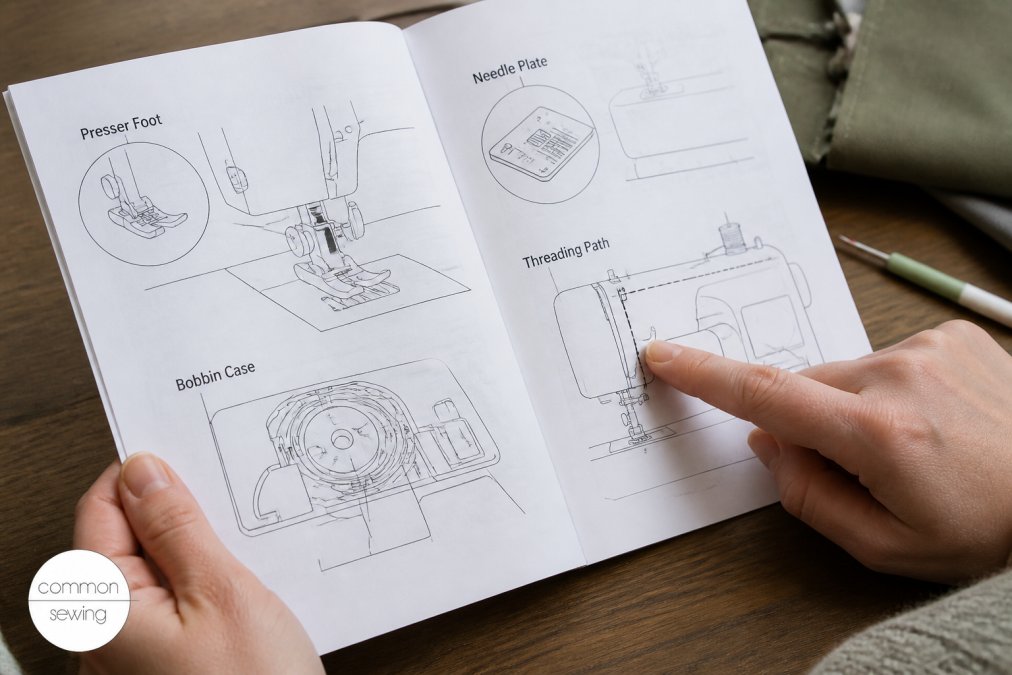
A circle with crosshairs marks the needle, a small square represents the bobbin, and arrows show thread direction. Feed dogs appear as teeth or ridges, the take-up lever as a rotating arm, and the spool pin as the post where thread sits. Diagrams show threading paths as numbered lines, follow them in order and you won't miss a tension disc or guide. An "X" or crossed-out image means "don't do this," while a checkmark means "this is correct."
Read the legend on the first few pages. Point to each component as you read about it to bridge the gap between the manual's language and your machine's reality.
Step-by-Step Guide to Threading and Setup
Threading is where most beginners struggle. Here's how to decode your manual's threading instructions.
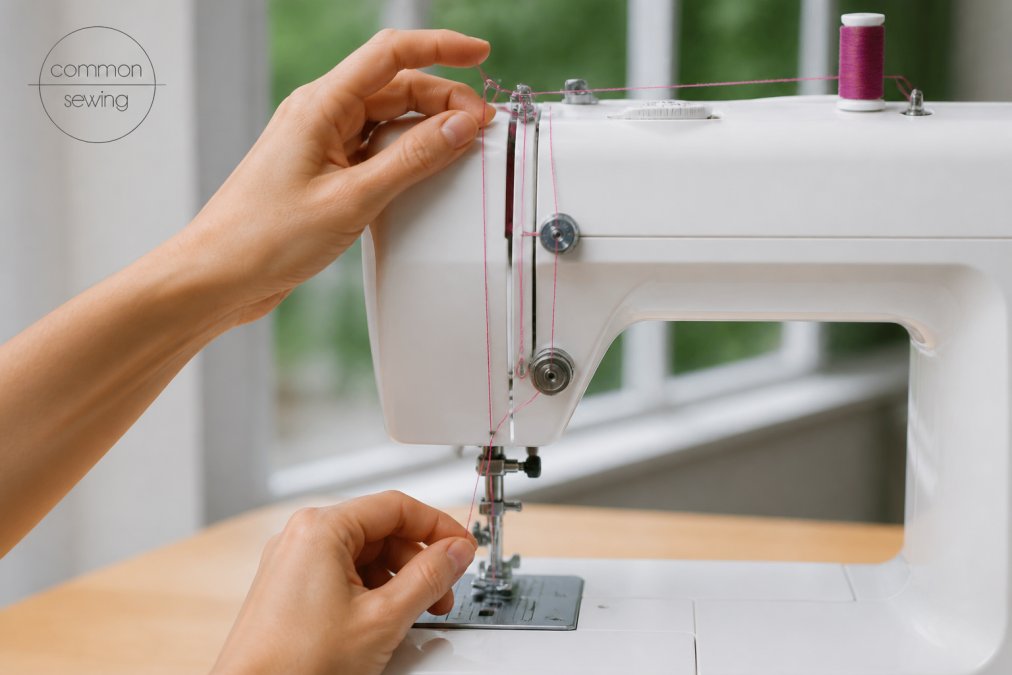
Locate your manual's threading diagram. It shows the spool pin at the top, then lines leading downward through guides: spool pin → tension dial → take-up lever → needle plate guides → needle.
Start at the spool pin and place your thread spool with the thread unwinding in the direction your manual specifies. Pull thread taut but not tight. Next, thread through the tension discs, these are two metal plates you thread between, not around. Push the presser foot down to open them, then slide thread between the plates. You should feel a slight catch.
Continue to the take-up lever, thread through its eye, then through remaining guides. Finally, thread the needle. If thread doesn't pass through smoothly, check your manual's needle insertion diagram, the flat side or groove faces a specific direction depending on your machine type.
Sign up with your email address to receive news and updates. →
Insert the bobbin last. Your manual shows bobbin case placement and winding direction. Most machines require the bobbin thread to wrap around a tension spring inside the bobbin case. Follow the diagram exactly.
How to Adjust Sewing Machine Tension and Troubleshoot Issues
Tension controls how tightly thread pulls through your fabric. Your manual explains this with diagrams showing top thread and bobbin thread interlocking in the middle of your fabric. If top thread tension is too tight, the top thread pulls the bobbin thread to the surface, creating loops. If it's too loose, bobbin thread shows on top.
Your manual includes a tension dial with numbered settings, usually 0 to 9, with 4 or 5 as the default . Start here and test on scrap fabric before adjusting. If stitches look loose, increase tension slightly. If stitches look tight, decrease tension. Make small adjustments.
Your manual's troubleshooting section addresses common issues: skipped stitches (usually a needle problem), broken thread (tension too tight or needle damaged), and puckered seams (tension imbalance or wrong needle for your fabric). For vintage machines, manuals are especially valuable because they show mechanical settings and lubrication schedules that differ from computerized models.
Your sewing machine manual is the most underused tool in your sewing room. When you learn to read its symbols, follow its threading instructions, and use its troubleshooting section, you gain real confidence. Common Sewing's structured approach to sewing education builds on this foundation. Sign up with your email address to receive news and updates, and start building your sewing skills with the guidance of a professional photo shoot tailor with 25 years of experience.
Frequently Asked Questions
Q: Why is it important to read the sewing machine manual?
A: Your manual contains critical information about how to read your specific machine's diagrams, symbols, and technical specifications. It guides you through proper threading, tension adjustment, stitch settings, and maintenance schedules. Beginners who skip the manual often struggle with basic setup and troubleshooting. Reading it first prevents damage to your machine and builds confidence from the start.
Q: What do the symbols on my sewing machine mean?
A: Sewing machine symbols represent different functions and settings. Common symbols include stitch type icons (straight line, zigzag, decorative patterns), tension indicators, and feed dog positions. Your manual's key or legend explains each symbol specific to your model. Understanding sewing machine symbols helps you select the right settings for different fabrics and projects without guessing.
Q: How do I use my manual as a sewing machine troubleshooting guide?
A: Most manuals include a troubleshooting section that lists common problems (skipped stitches, thread breakage, tension issues) and their solutions. Start by identifying your symptom, then follow the manual's recommended fixes in order. The troubleshooting guide typically directs you to check threading, bobbin insertion, needle condition, and tension adjustment. This systematic approach resolves most issues without professional repair.