 how-to
How to Use a Seam Ripper Correctly
Table of Contents
- What You'll Need Before You Start
- How to Use a Seam Ripper Correctly: Step-by-Step
- How to Remove Stitches Without Damaging Fabric
- Frequently Asked Questions
Last Updated: October 2, 2026
What You'll Need Before You Start
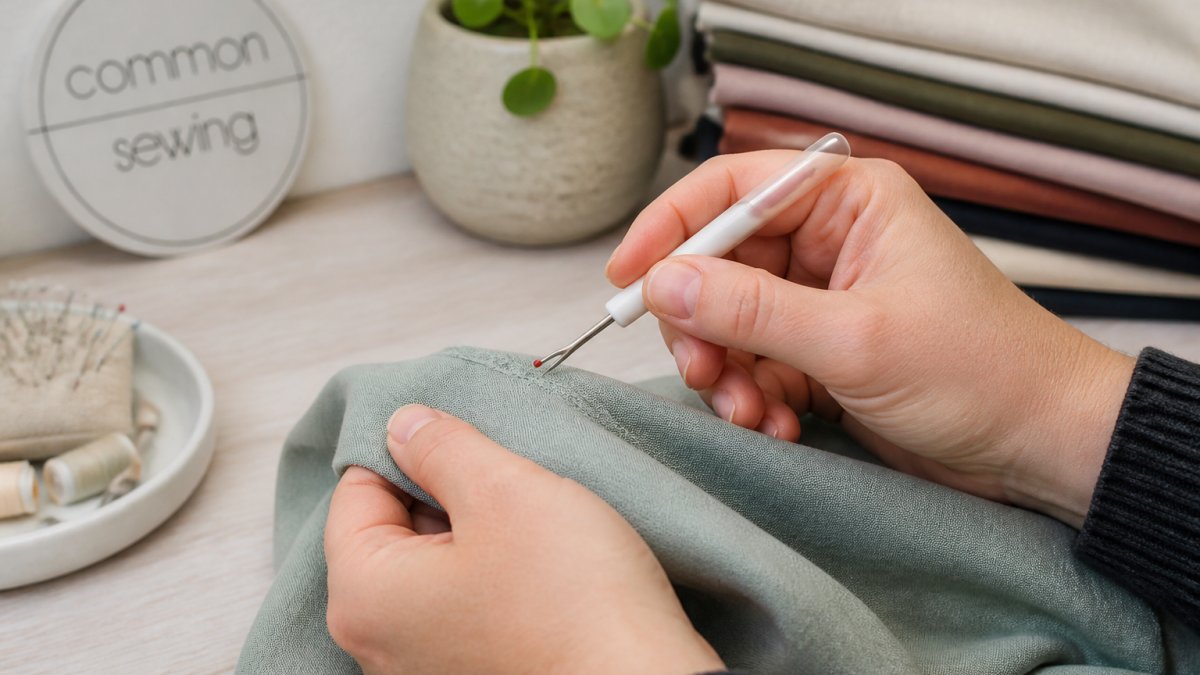
A seam ripper is a small tool with a curved blade and pointed end that cuts and removes stitches without damaging fabric.
Types of Seam Rippers
Standard seam rippers (3-4 inches) work for general alterations; surgical scalpels suit delicate fabrics, and dual-blade unpickers handle heavy fabrics like denim. For most home sewers, a standard seam ripper with a comfortable grip is sufficient.
When to Use a Seam Ripper vs. Scissors
Seam rippers are superior to scissors because the curved blade lifts thread away from the fabric surface, reducing the risk of cutting the weave.
What to Gather Before You Start
Gather your seam ripper, garment, trash bowl, tweezers, lint roller, and good lighting (at least 40 watts) to prevent eye strain.
How to Use a Seam Ripper Correctly: Step-by-Step
Position the curved blade under a single stitch with the pointed end facing away from the fabric, push up gently to lift the thread, then slide forward to cut cleanly.
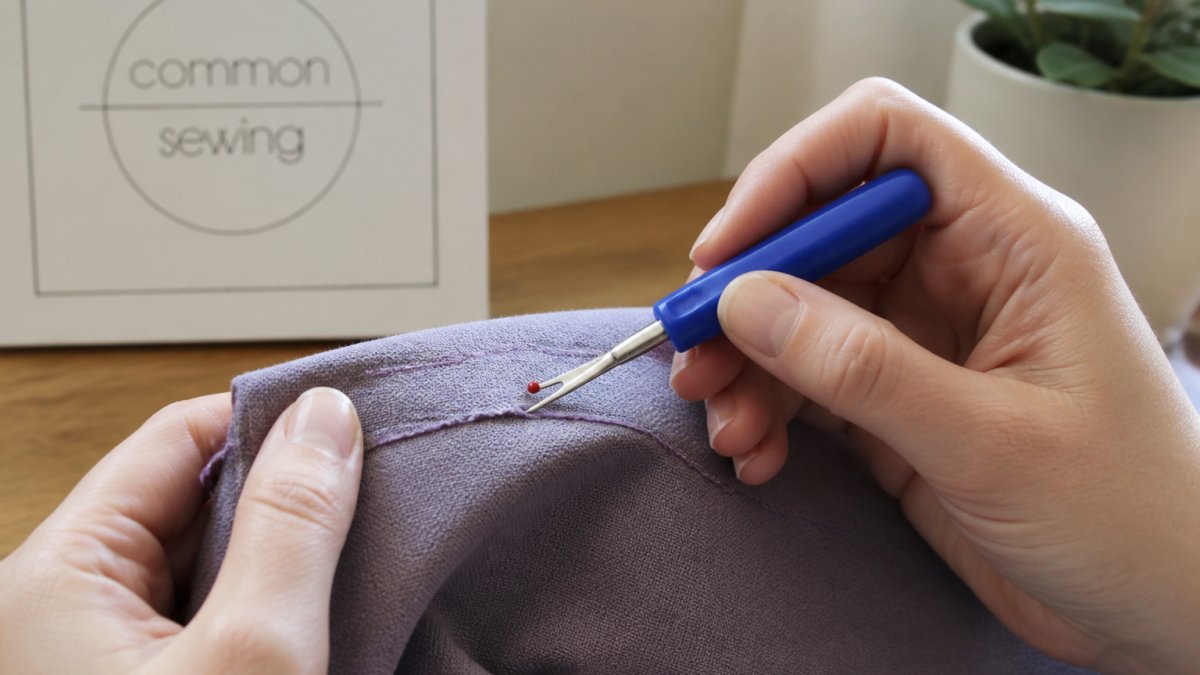
Work one stitch at a time, cutting every third or fourth before gently pulling the fabric apart to loosen thread. Work patiently to avoid pressing too hard or angling incorrectly, which tears the weave.
How to Remove Stitches Without Damaging Fabric
Fabric-Specific Techniques
Sign up with your email address to receive news and updates. →
Woven Fabrics (cotton, linen, wool blends): Hold the seam ripper at a shallow angle, almost parallel to the fabric surface. Work from the top side first, then flip and remove remaining stitches from the back.
Knit Fabrics (jersey, interlock, rib): Knits are prone to laddering if you catch a loop. Work slowly, cut only seam stitches, and stabilize the fabric with your non-dominant hand. Use a fine, sharp-pointed seam ripper to minimize snagging.
Delicate Fabrics (silk, satin, chiffon, lace): Use a surgical scalpel (size 11) or fine-tipped seam ripper in short, controlled motions while supporting the fabric underneath. If backed with interfacing, remove stitches from the interfacing side first.
Removing Thread Remnants Safely
Use tweezers to pull out thread remnants with small, gentle tugs; for knits, use tweezers instead of the seam ripper's pointed end to avoid snagging loops.
What to Do If You Damage the Fabric
For small holes in woven fabrics, apply a patch using fusible webbing or fabric glue; for knits, use a ladder stitch for runs or patch for tears; for delicate fabrics like silk, consult a professional tailor. Prevention is always better than repair, work in short sessions to maintain focus and steady hands.
Frequently Asked Questions
What is the red ball on a seam ripper for?
The red ball, called a safety ball, protects your fabric from accidental punctures when using the seam ripper. It sits at the end of the pointed end and prevents you from pushing the tool too deeply into the material. This feature is especially important when working with delicate fabrics where fabric snagging or tears can happen quickly. Always ensure the safety ball is intact before use.
What is the best way to rip seams without damaging fabric?
Work slowly and carefully to maintain fabric integrity. Insert the curved blade under individual stitches rather than trying to cut multiple threads at once. Use light pressure and let the sharp blade do the work—forcing the tool can cause puckering or tears. For delicate fabrics, cut every other stitch first, then gently pull the seam apart before removing remaining threads. This prevents stress on the weave.
Do you really need a seam ripper?
While scissors can remove stitches in a pinch, a seam ripper is specifically designed to prevent fabric damage. The curved blade and pointed end allow precision cutting of individual stitches without nicking the material. For anyone serious about sewing repairs or alterations, a seam ripper is an essential tool that saves time and protects your projects from costly mistakes.
Removing stitches is one of the most practical skills in sewing. Whether you're fixing a mistake, altering a garment, or repairing a seam, knowing how to use a seam ripper correctly saves time and protects your work. At Common Sewing, we teach these foundational techniques as part of our structured program designed to build your confidence with every project. Master the basics now, and you'll be ready to tackle repairs and alterations that would otherwise cost you money at a tailor.