 ultimate-guide
Sewing Machine Feet Guide: Types and Uses
Table of Contents
- Understanding Sewing Machine Feet and Their Purpose
- Best Sewing Machine Feet for Beginners
- How to Change Sewing Machine Feet
- Frequently Asked Questions
Last Updated: October 6, 2026
Understanding Sewing Machine Feet and Their Purpose
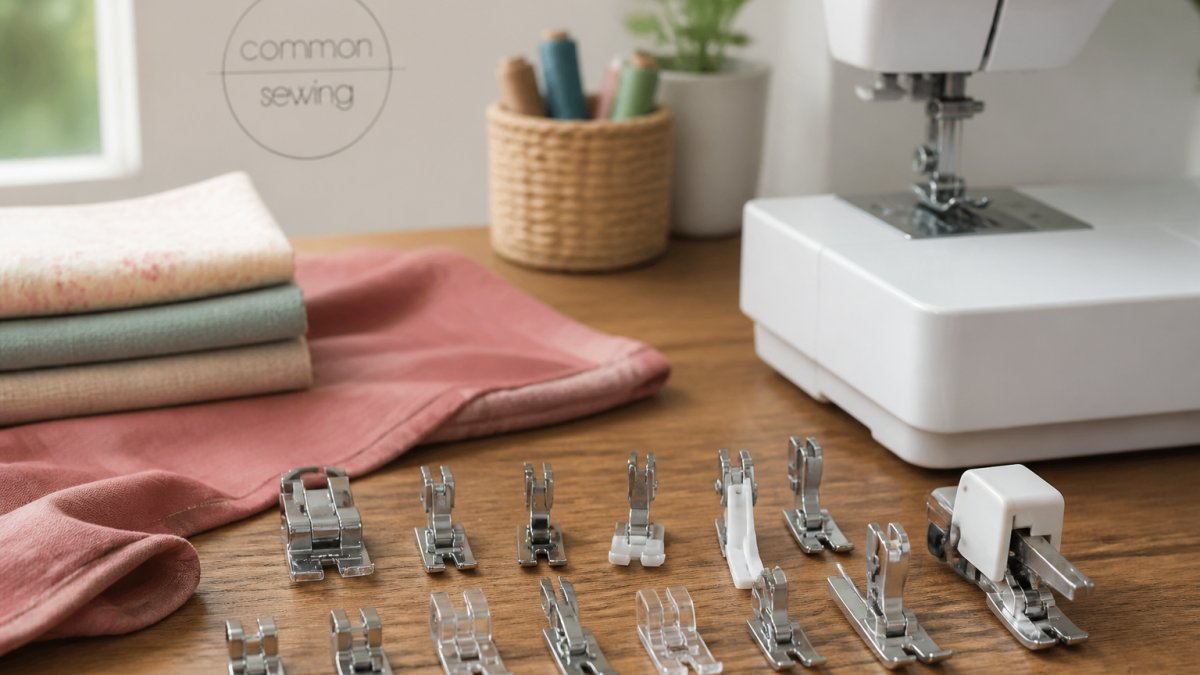
Sewing machine feet are specialized attachments that sit under the presser bar and work with your needle to create different stitches and techniques. Each foot is designed for a specific task: some guide fabric at precise angles, others feed multiple layers evenly, and some add decorative elements.
The standard presser foot comes with most machines, but it's just the beginning. Mastering a handful of essential sewing machine feet is what separates finishers from abandoners.
The feed dogs beneath your presser foot pull fabric forward while the foot holds it down. Different feet work with this system in different ways: wider openings accommodate thick seams, guides keep your stitch line parallel to an edge, and rollers or walking mechanisms handle slippery or layered fabrics.
Best Sewing Machine Feet for Beginners
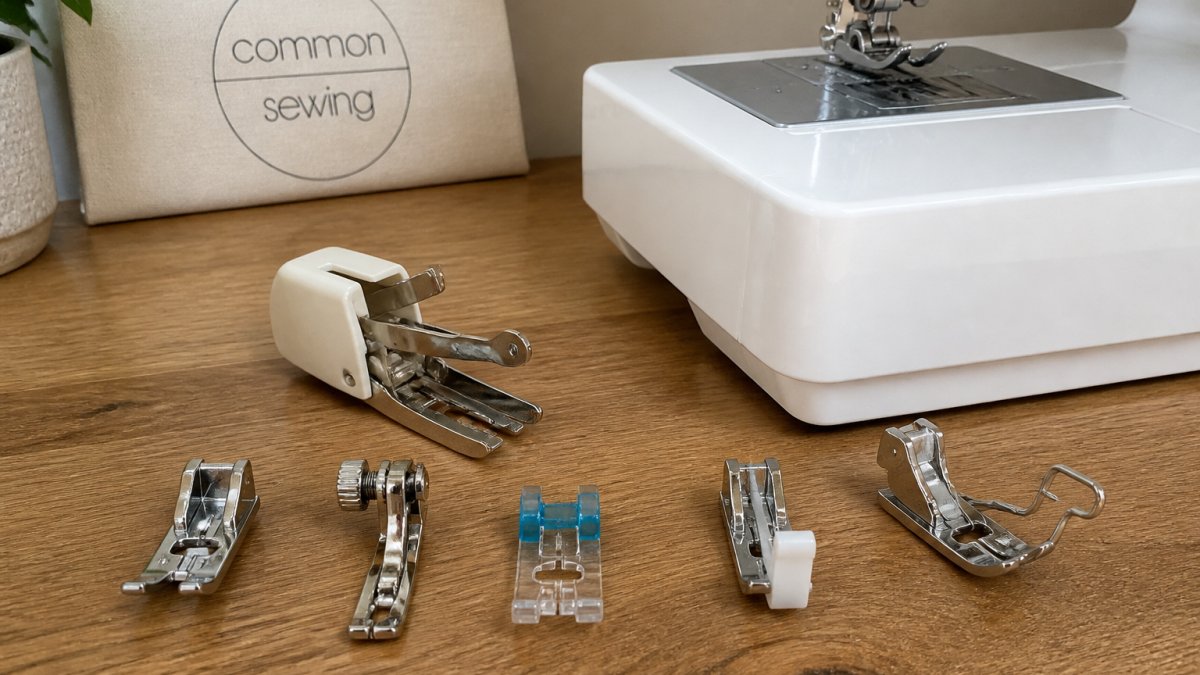
Start with five essential sewing machine feet and you'll handle 90% of beginner projects.
Standard presser foot. Your workhorse for straight stitches, zigzag stitches, and basic seaming. Its wide opening lets you see your stitching line clearly.
Walking foot. Feeds fabric evenly from top and bottom, preventing the top layer from creeping forward. Use it for quilting, topstitching thick seams, and sewing multiple layers, like hemming pants or attaching a waistband.
Zipper foot. A narrow foot for invisible zipper application and cording work. Its single toe lets you stitch close to a raised edge, teaching deliberate needle control.
Blind hem foot. Its guide catches just a few threads of folded fabric, creating an invisible seam. Essential for hemming your own clothes, it becomes automatic once you understand the guide.
Sign up with your email address to receive news and updates. →
Gathering foot. Creates gathers automatically as you sew, no thread-pulling required, saving time and producing consistent ruffles.
How to Change Sewing Machine Feet
Your machine has either a snap-on or screw-on shank. Check the presser bar: a small button or lever means snap-on; a visible screw means screw-on.
For snap-on feet: Press the button or lever while pulling the foot away. Align your new foot with the shank and press up until it clicks.
For screw-on feet: Turn the screw counterclockwise until the foot comes free, position the new foot, then turn clockwise until snug, firm but not tight enough to strip the threads.
Always lower your presser bar before sewing with a new foot. If it's raised, your thread won't have proper tension and your stitches will be loose.
Changing sewing machine feet is one of the simplest skills to master, and it opens up dozens of techniques. Common Sewing's step-by-step method teaches you which foot to reach for in every situation. Start with the fundamentals, practice with real projects, and watch your sewing transform from overwhelming to genuinely enjoyable.
Frequently Asked Questions
Do all sewing machine feet fit all sewing machines?
No. Presser feet compatibility depends on your shank type, either snap-on or screw-on. Snap-on feet attach quickly to machines with a snap-on presser bar, while screw-on feet require threading onto a threaded presser bar. Universal presser feet exist but may not work perfectly on every machine model. Always check your sewing machine manual to confirm which attachment type your machine uses before purchasing new feet.
How do I identify which sewing machine foot I need?
Identify the foot by matching your sewing task to its function. For straight seams, use the standard presser foot. For zippers, use a zipper foot. For quilting, use a walking foot. For blind hems, use a blind hem foot. For gathering, use a gathering foot. Visual identification helps too, specialty feet have distinct shapes. Consult your machine's manual or a sewing machine presser foot chart for pictures of each type. When learning, start with the standard foot and walking foot, as these handle most beginner projects.
What is the difference between a standard foot and a walking foot?
A standard presser foot holds fabric in place while the feed dogs underneath move it forward. A walking foot has its own feed mechanism that grips the top of the fabric and moves it at the same speed as the feed dogs below, preventing layers from shifting. This makes the walking foot ideal for quilting, topstitching, and sewing multiple layers where even fabric feed is critical. Standard feet work fine for most basic sewing, but walking feet prevent puckering and misalignment on thicker or slippery materials.