 ultimate-guide
How to Follow Sewing Patterns Correctly
Table of Contents
- What You'll Need Before Starting
- How to Read Sewing Pattern Symbols
- How to Cut Fabric From a Pattern
- Step-by-Step: Following Your Pattern From Start to Finish
Last Updated: August 25, 2026
What You'll Need Before Starting
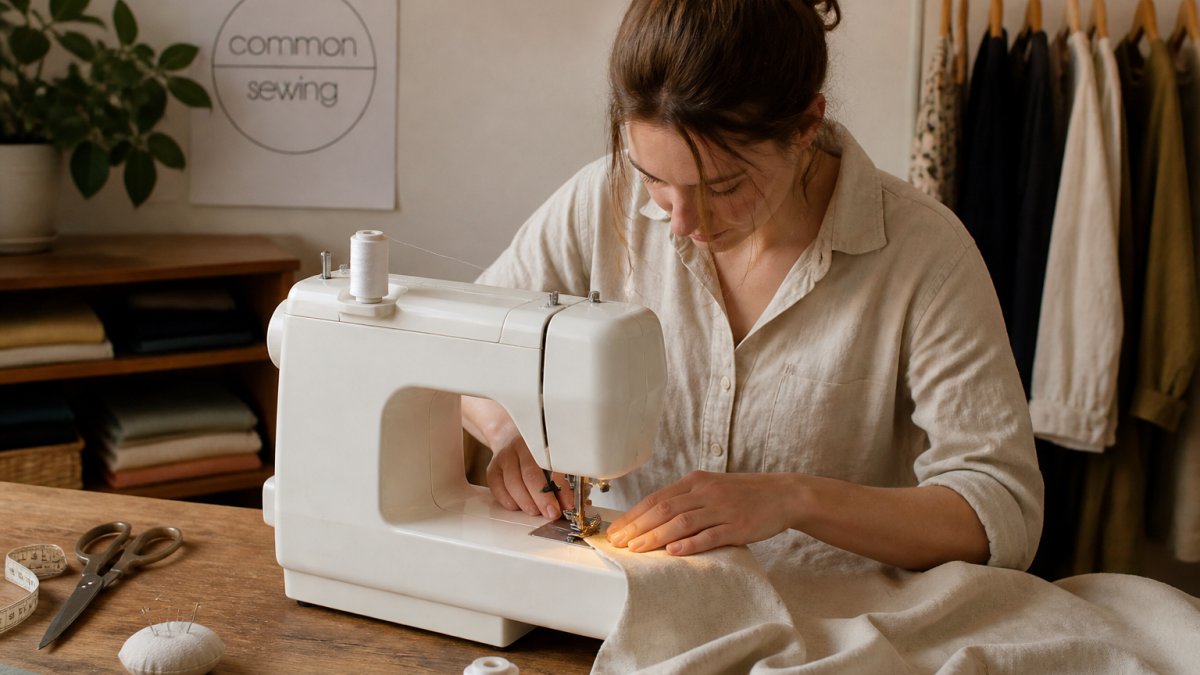
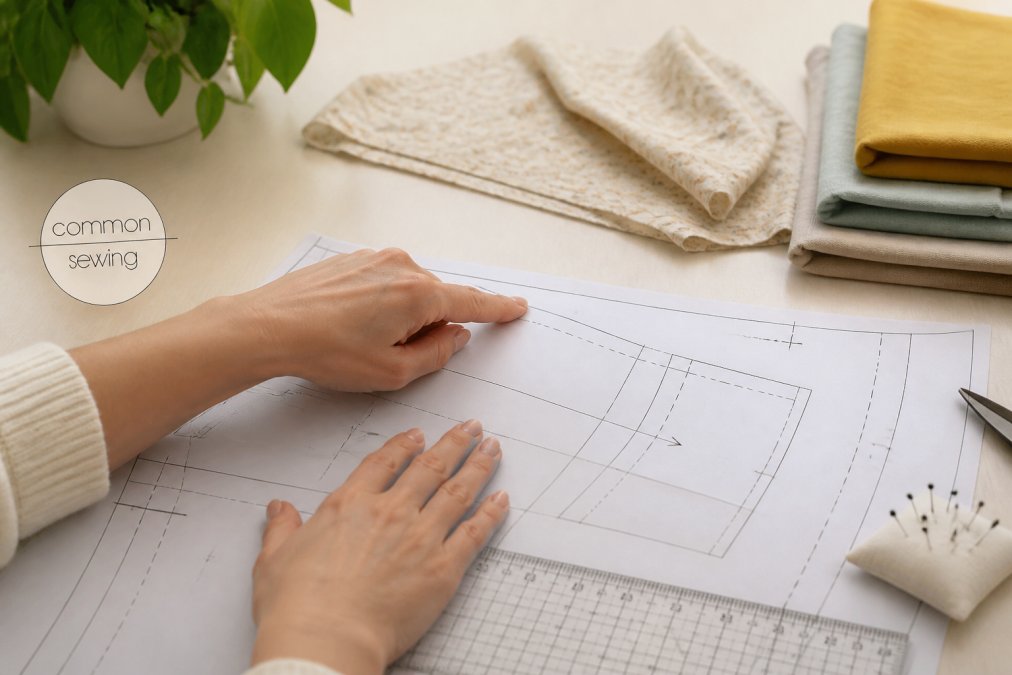
Gather essentials: sewing machine, fabric, thread, sharp fabric shears, pins or pattern weights, measuring tape, and marking tools like tailor's chalk or a tracing wheel. I call this my mise en place - it makes the difference between enjoying my process and giving up.
Read the pattern instructions before cutting. It specifies fabric requirements, finished garment measurements, and which size to choose based on your body measurements. This prevents cutting into fabric only to discover you've picked the wrong size or lack sufficient yardage. Taking five minutes here saves hours of confusion later.
How to Read Sewing Pattern Symbols
Sewing pattern symbols are a visual language that tells you exactly how to construct a garment. Common symbols include grain lines (arrows showing fabric direction), fold lines, notches (small cuts for alignment), and darts (triangular stitched folds that shape fabric). Seam allowances, typically half an inch, are marked with a dashed line and are critical to understand.
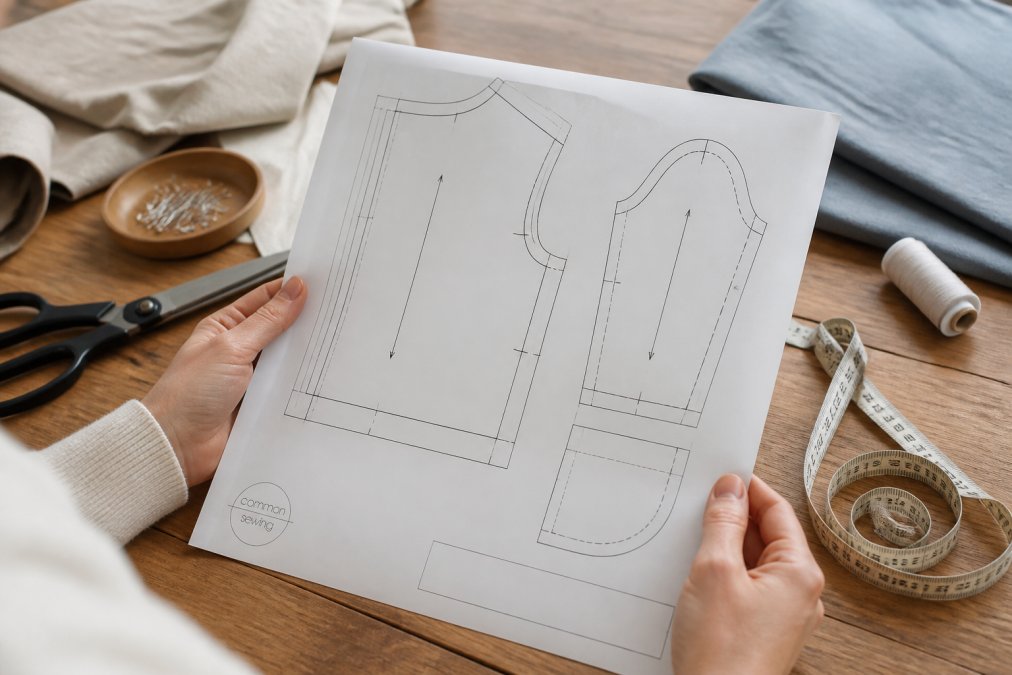
Darts control fabric drape on your body and are marked with triangular outlines. Staystitching, a single line of stitching just inside the seam allowance on curved areas, prevents fabric from stretching. The pattern instructions specify which edges need staystitching. You will learn these skills in Basic Skill number 5 at Common Sewing.
How to Cut Fabric From a Pattern
Cutting is where precision matters most. Improper cutting can't be fixed later.
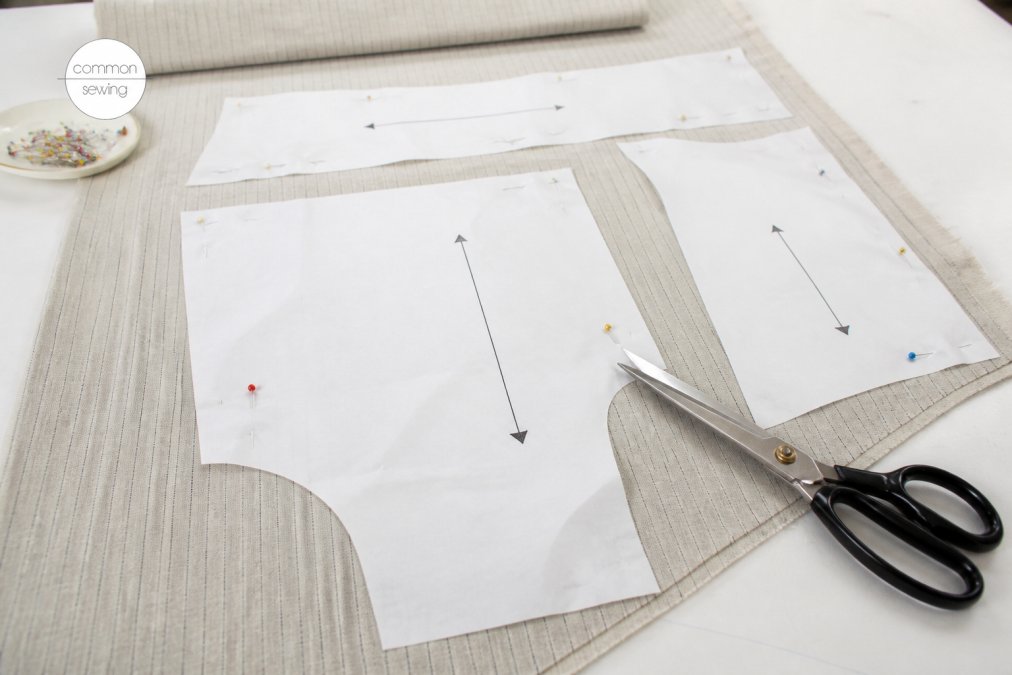
Press fabric with an iron to remove wrinkles, then fold it according to the cutting layout shown on your pattern envelope. Align the grainline arrow on each pattern piece with the fabric's grain direction, this is non-negotiable for proper garment construction. Pin or weight pattern pieces in place; pattern weights are preferable to pins because they don't shift fabric or create holes.
Cut slowly and deliberately using long, smooth strokes with sharp shears. Dull shears create jagged edges that fray and distort fabric (try kai 8” dressmaker shears). Cut directly on the pattern line; even a quarter-inch error compounds across multiple pieces.
After cutting, transfer pattern markings to your fabric using tailor's chalk or a tracing wheel. These markings show where darts begin and end, where to attach pieces, and where notches should align. Skipping this step causes pieces not to fit together smoothly during assembly.
Sign up with your email address to receive news and updates. →
Step-by-Step: Following Your Pattern From Start to Finish
The instruction booklet breaks construction into numbered steps. Start with the first step, complete it fully, then move to the next. Don't skip ahead; pattern designers order steps logically to build structure and stability. Typically, you'll begin with construction details like adding interfacing or stitching darts, then attach major pieces like sleeves and bodice panels, and finally add finishing touches like hems and closures.
Use notches for alignment. When two pattern pieces meet, their notches should match perfectly. This prevents twisted seams and misaligned pieces that ruin fit.
Press seams after stitching as the instructions specify. Pressing throughout construction, not just at the end, is what separates beginner projects from polished results. Follow the instruction booklet's guidance on seam finishing; some seams need zigzag stitching or binding to prevent fraying, while others can be left raw if the fabric doesn't fray badly.
Following sewing patterns correctly transforms an overwhelming process into a manageable one. Read the pattern envelope, symbols, and instruction booklet thoroughly. Cut with precision and assemble step by step. Start with a simple project, master the fundamentals, and you'll quickly develop the skills to sew anything you imagine.
Frequently Asked Questions
How do I know if I'm following a sewing pattern correctly?
You're on the right track when you match the pattern envelope measurements to your body measurements, identify all pattern symbols correctly, and follow the cutting layout for your size. Check that your cut pieces match the pattern pieces shown on the envelope, seam allowances are included, and notches align when you pin pieces together. If pieces don't fit together or lie flat, review the pattern symbols and assembly steps—most mistakes come from skipping symbol interpretation or ignoring grain line direction.
What do the symbols on a sewing pattern mean?
Pattern symbols are visual shortcuts that guide your construction. A line with arrows indicates grain line direction (how to position the pattern on fabric). Notches are small cuts that match pattern pieces together. Darts are marked with lines and dots showing where to fold and sew for shaping. A fold line means that edge aligns with the fabric fold. Circles often mark buttonholes or snap placement. Always check the pattern instruction booklet—it explains symbols specific to that pattern and includes a key for reference.
How do I cut fabric from a pattern without making mistakes?
Start by preparing your fabric: wash, dry, and press it flat to prevent shrinkage later. Lay out your fabric according to the cutting layout shown on the pattern envelope for your size and fabric width. Pin pattern pieces securely using pattern weights or pins placed outside the cutting line. Cut slowly and deliberately with sharp fabric shears, following the pattern outline exactly. Transfer all markings (notches, darts, grain line) to your fabric using tailor's chalk or a tracing wheel before removing the pattern. Double-check that all pieces are cut before moving on to assembly.
This article was written using GrandRanker